nginx的架构设计
参考文献
代码
什么是四层(L4 proxy)和七层负载均衡(L7 proxy)?区别是什么? 翻译自Nginx官网
4层指的是传输层,7层指的是应用层
这个代理的意义是什么?不是有服务注册发现中心的存在了吗
七层负载均衡比如nginx:将内容分成两部分,静态内容——比如图片或者视频,动态内容——比如新闻递送
因此为了定夺微服务中常用的两种代理,即: Nginx 和 Envoy 如何选择
其他阅读文献
什么是四层(L4 proxy)和七层负载均衡(L7 proxy)?区别是什么? 翻译自Nginx官网
原文:Layer 7 load balancing enables the load balancer to make smarter load‑balancing decisions
【干货】互联网公司理想架构探讨
windows下使用nginx做静态资源服务器
当网络不好的时候,hexo s预览博客的时候,会花大量的时间在等待图片返回上,这时候如果能重定向到本地机器上就好了
使用switchHost将raw.githubusercontent.com重定向到本地机器
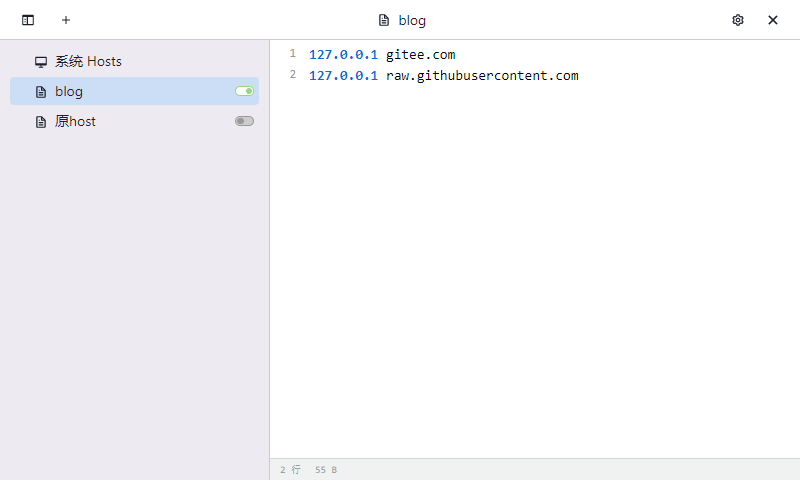
首先需要将域名raw.githubusercontent.com定位到本地机器,这时候可以手动改host,或者使用switchHost方便可视化操作,在官网上下载安装,或者下载便携版,记得使用管理员权限运行
并添加如下的配置
1
2
| 127.0.0.1 gitee.com
127.0.0.1 raw.githubusercontent.com
|
图片详情

如果重新定位失败,尝试关掉梯子
因为markdown中的地址是使用https访问的,所以需要本地自签证书
安装mkcert可以使用choco安装
以管理员权限运行powershell,输入如下代码安装choco
Set-ExecutionPolicy Bypass -Scope Process -Force; [System.Net.ServicePointManager]::SecurityProtocol = [System.Net.ServicePointManager]::SecurityProtocol -bor 3072; iex ((New-Object System.Net.WebClient).DownloadString('https://community.chocolatey.org/install.ps1'))
使用choco install mkcert安装mkcert
使用mkcert -key-file key.pem -cert-file cert.pem raw.githubusercontent.com在当前目录下生成证书文件
windows下安装nginx
在download page目录里,选择一个稳定版,解压即可
下载图床
在任意位置创建ednow/cloudimg/目录结构,并git clone https://github.com/ednow/cloudimg.git,下载图床文件,将cloudimg重命名为main
修改nginx的配置
将mkcert生成的证书文件放在跟conf同级目录中,并修改conf为如下内容
代码详情
1
2
3
4
5
6
7
8
9
10
11
12
13
14
15
16
17
18
19
20
21
22
23
24
25
26
27
28
29
30
31
32
33
34
35
36
37
38
39
40
41
42
43
44
45
46
47
48
49
50
51
52
53
54
55
56
57
58
59
60
61
62
63
64
65
66
67
68
69
70
71
72
73
74
75
76
77
78
79
80
81
82
83
84
85
86
87
88
89
90
91
92
93
94
95
96
97
98
99
100
101
102
103
104
105
106
107
108
109
110
111
112
113
114
115
116
117
118
119
120
121
122
123
124
125
126
127
128
|
#user  nobody;
worker_processes  1;

#error_log  logs/error.log;
#error_log  logs/error.log  notice;
#error_log  logs/error.log  info;

#pid        logs/nginx.pid;


events {
    worker_connections  1024;
}


http {
    include       mime.types;
    default_type  application/octet-stream;
    # 加入自定义的conf
    include conf/*.conf;
    #log_format  main  '$remote_addr - $remote_user [$time_local] "$request" '
    #                  '$status $body_bytes_sent "$http_referer" '
    #                  '"$http_user_agent" "$http_x_forwarded_for"';

    #access_log  logs/access.log  main;

    sendfile        on;
    #tcp_nopush     on;

    #keepalive_timeout  0;
    keepalive_timeout  65;

    #gzip  on;

    server {
        listen       80;
        server_name  raw.githubusercontent.com;

        #charset koi8-r;

        #access_log  logs/host.access.log  main;

        # location / {
        #     root   html;
        #     index  index.html index.htm;
        # }
        # location / {
        #     root cloudimg/;
        #     autoindex on;
        # }

         location / {
            root D:\\Users\\LND\\Desktop\\ereaseo;
            autoindex on;
        }
        #error_page  404              /404.html;

        # redirect server error pages to the static page /50x.html
        #
        error_page   500 502 503 504  /50x.html;
        location = /50x.html {
            root   html;
        }

        # proxy the PHP scripts to Apache listening on 127.0.0.1:80
        #
        #location ~ \.php$ {
        #    proxy_pass   http://127.0.0.1;
        #}

        # pass the PHP scripts to FastCGI server listening on 127.0.0.1:9000
        #
        #location ~ \.php$ {
        #    root           html;
        #    fastcgi_pass   127.0.0.1:9000;
        #    fastcgi_index  index.php;
        #    fastcgi_param  SCRIPT_FILENAME  /scripts$fastcgi_script_name;
        #    include        fastcgi_params;
        #}

        # deny access to .htaccess files, if Apache's document root
        # concurs with nginx's one
        #
        #location ~ /\.ht {
        #    deny  all;
        #}
    }


    # another virtual host using mix of IP-, name-, and port-based configuration
    #
    #server {
    #    listen       8000;
    #    listen       somename:8080;
    #    server_name  somename  alias  another.alias;

    #    location / {
    #        root   html;
    #        index  index.html index.htm;
    #    }
    #}


    # HTTPS server
    #
    server {
       listen       443 ssl;
       server_name  raw.githubusercontent.com;

       ssl_certificate      cert.pem;
       ssl_certificate_key  key.pem;

       ssl_session_cache    shared:SSL:1m;
       ssl_session_timeout  5m;

       ssl_ciphers  HIGH:!aNULL:!MD5;
       ssl_prefer_server_ciphers  on;

       location / {
           # 存放ednow/cloudimg/main的ednow文件夹的位置
           root D:\\Users\\LND\\Desktop\\ereaseo;
            autoindex on;
        }
    }

}
|
启动nginx
双击nginx.exe
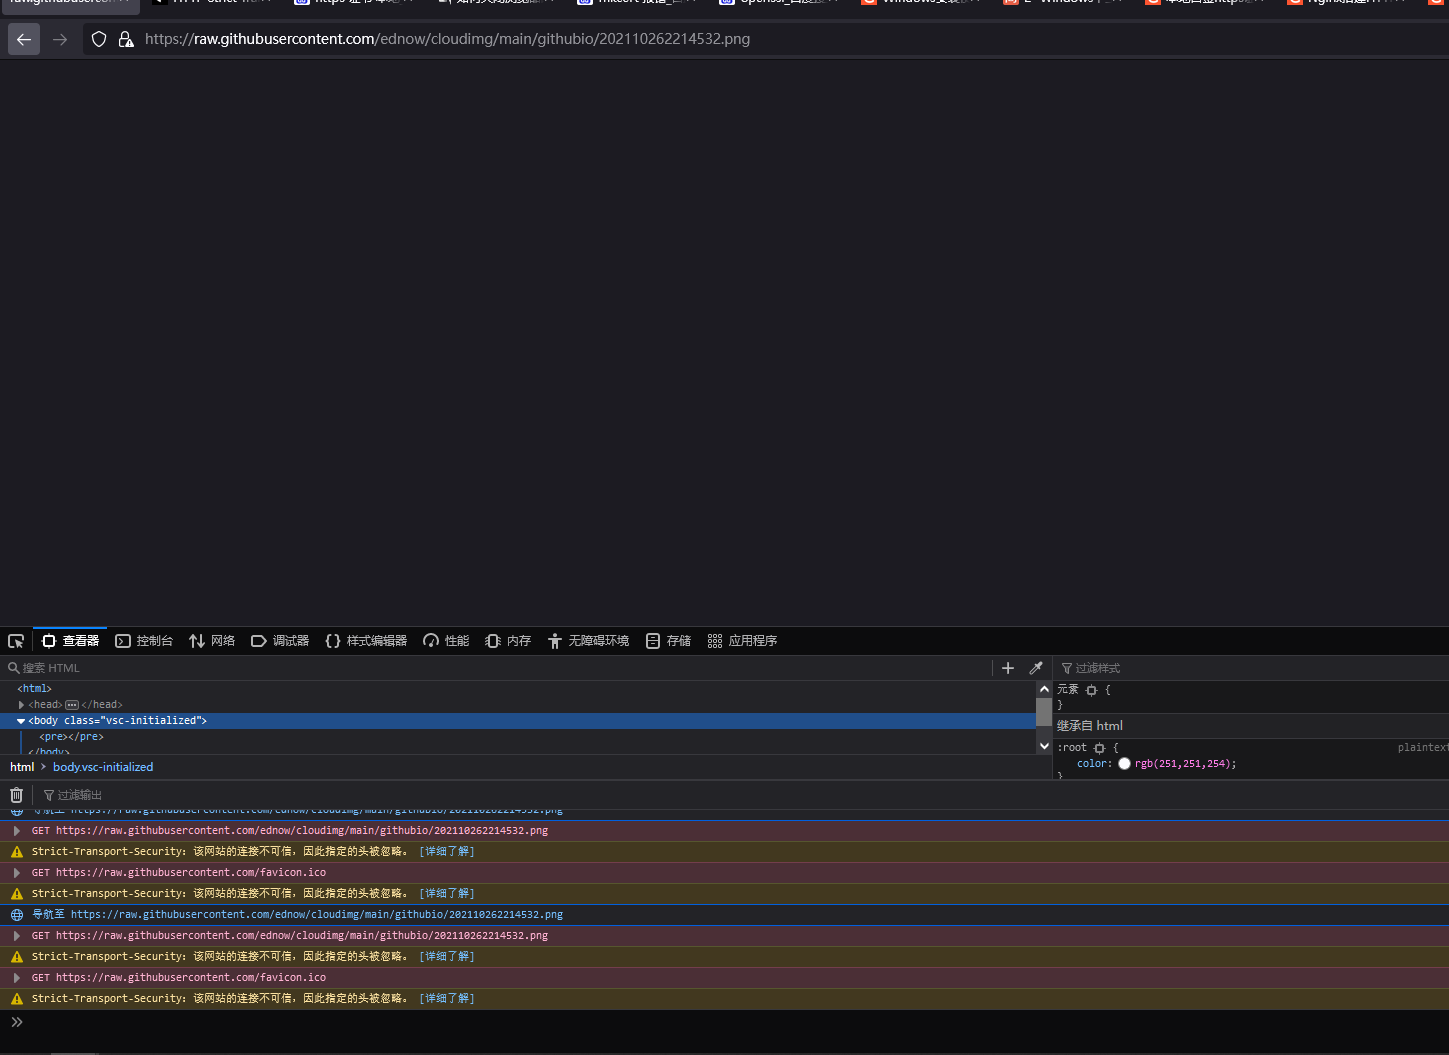
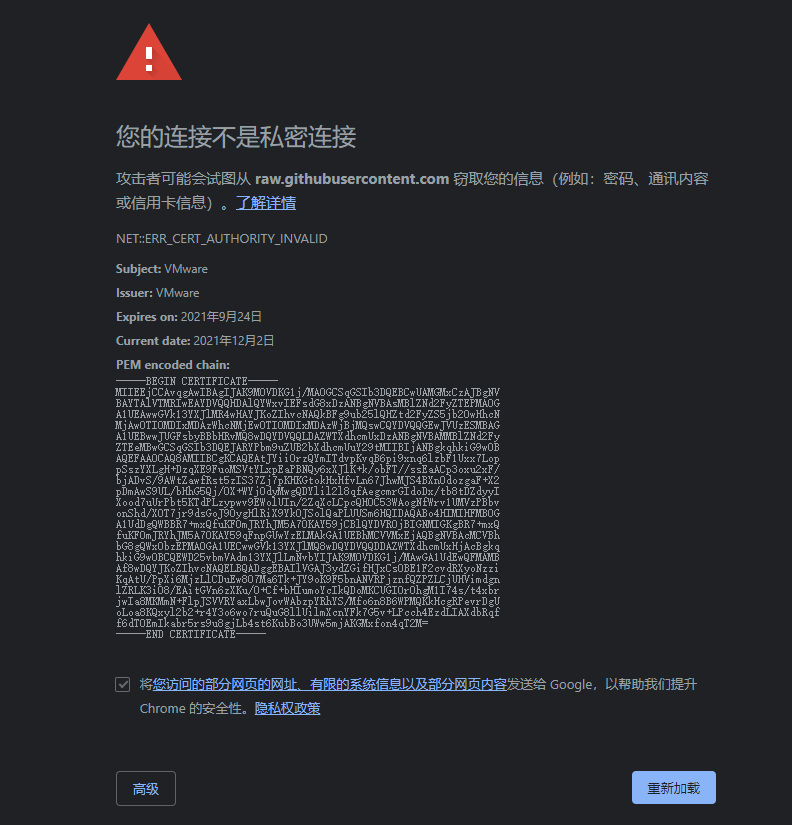
失败
在打电脑上可以,在小电脑上失败
firefox
图片详情

chrome
图片详情

openssl
待解决
参考文献


